How to Estimate From Photos: A Contractor's Guide
How to Estimate From Photos: A Contractor’s Guide
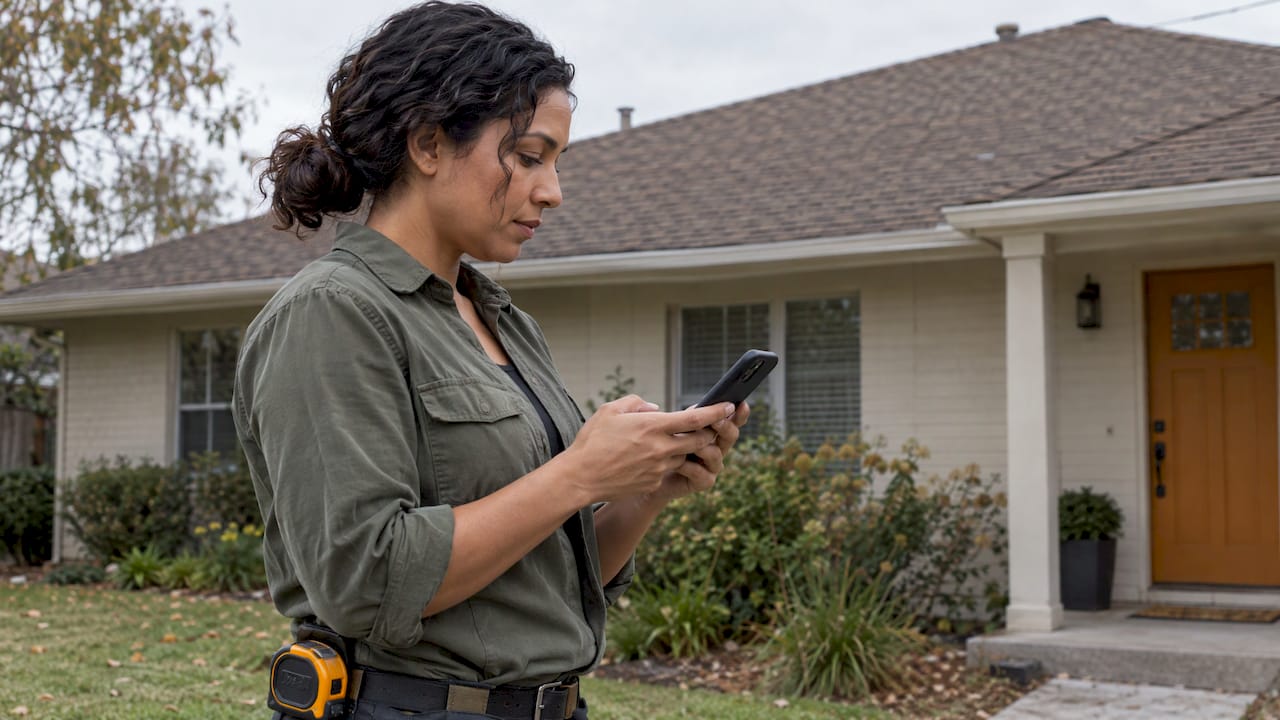
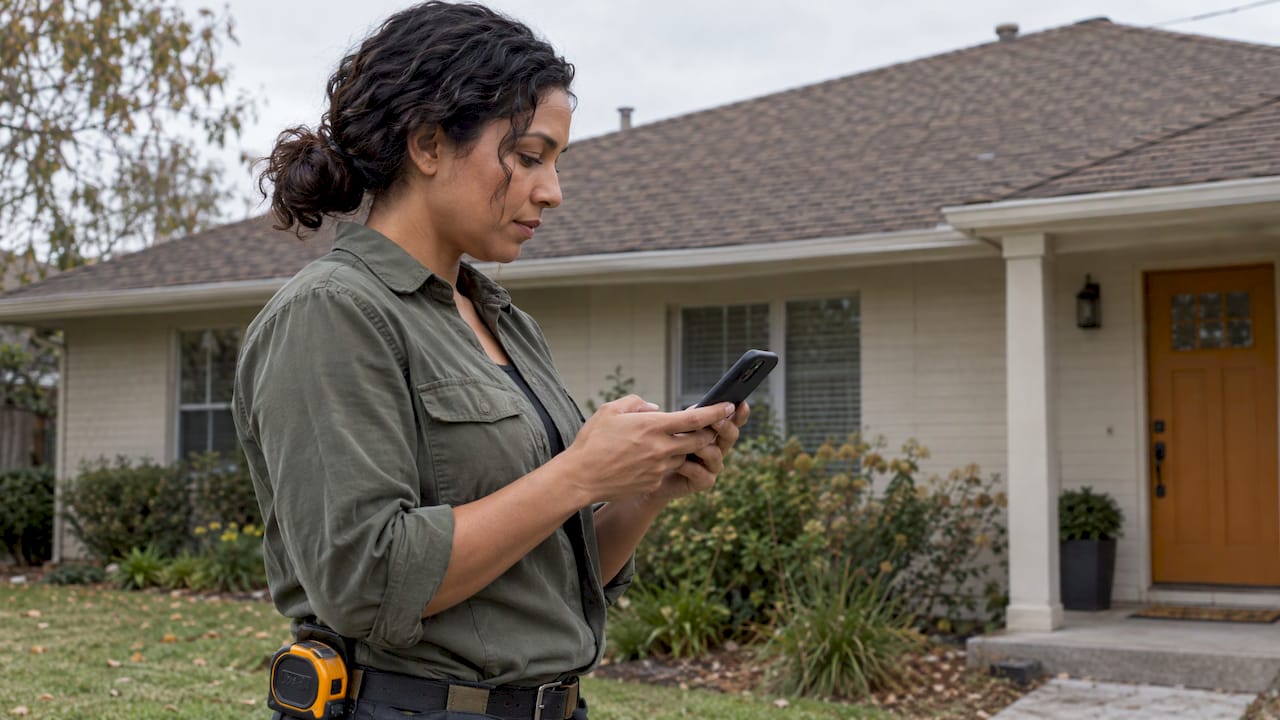
You can build a solid first estimate from photos, as long as the photos include a known reference length, are shot square to the work, and are followed by a site visit whenever the job’s price depends on something a camera cannot see. Photos get you to a number faster. Measurements, and a look at what is hidden, make that number safe to commit to.
This guide covers what to shoot, how to get usable dimensions from an image, where photo estimates go wrong, and how to turn a pile of pictures and notes into a clear, itemized quote the customer can approve.
HechitoTurn Job Details Into Clear RecordsHechito captures customer conversations and job details through voice and images, helping contractors move from quotes to invoices with less paperwork.Visit HechitoTL;DR
- Photo-based estimating means building a scope, quantities and a price from images and notes, then confirming what the images cannot show.
- Every photo you plan to measure from needs a reference of known length in the same plane as the thing you are measuring.
- Shoot three frames per condition: wide, medium and close-up. Add a quick voice or text note while you are standing there.
- Treat photo numbers as a draft. Verify on site when the price hinges on hidden conditions, overhangs, or large quantities.
- Keep photos tied to the job record so the same images support the quote, the change orders and the invoice.
Table of Contents
- What photo-based estimating actually is
- Photos or a site visit: how to decide
- The photos to take before you price anything
- Getting measurements out of a picture
- Where photo estimates go wrong
- From photos and notes to an itemized quote
- Our perspective on photo estimating
- Keeping photo records useful after the quote
- Do the estimating where the work is
- Common mistakes to avoid
- FAQ
- Sources
What photo-based estimating actually is
Photo-based estimating is a workflow, not a gadget. You collect images of the space or structure, pair them with what the customer tells you and what you observe, and use all of it to write a scope of work, a materials list and a price. The photos might come from you on a walkthrough, from the customer’s phone, or from aerial imagery on roofing work.
It earns its place in a few situations:
- Screening calls. A homeowner texts three pictures of a leaking fixture or a damaged fence. You can tell in two minutes whether the job is worth a visit and give a ballpark range.
- Repeat or similar work. You have done forty bathroom refreshes. Photos plus a few dimensions are enough to adjust a template.
- Remote or spread-out jobs. Windshield time costs money. Photos let you qualify leads before you drive.
- Documentation on the visit itself. Even when you walk the job, photos taken during the walkthrough are what you will price from back at the truck or the kitchen table.
It is a poor stand-alone method when the real cost sits behind a wall, under a floor, or in a system you cannot see. Those jobs still start with photos, but the number you give is a range with stated assumptions.
Photos or a site visit: how to decide
A useful rule is to match the method to how much the price can move. Small, visible, repeatable work can be quoted from images. Large or concealed work needs eyes and a tape on site.
| Situation | Photos enough for a firm number? | What to do |
|---|---|---|
| Replace a visible fixture, door or window with standard sizing | Usually yes | Confirm the size from a label or a measurement the customer takes |
| Paint or finish a clearly visible room | Often | Get a reference length in each wall photo and confirm ceiling height |
| Repair of water damage | No | Give a range, then inspect for the source and hidden extent |
| Roofing | Partly | Use photos or aerial imagery for the draft, then verify edges and overhangs |
| Remodel that touches structure, plumbing or electrical | No | Visit, open up what you can, and write assumptions into the scope |
There is a number worth keeping in your head for roofs. One roofing company’s 2026 guide says that when ground measurements differ from aerial data by more than 5%, the aerial data may be unreliable for that section, and that the most dependable approach pairs aerial measurement with a physical site survey. That threshold is one contractor’s guideline, not an industry standard, but it is a sensible trigger: when a spot check disagrees with the photo by more than a few percent, stop trusting that section of the photo takeoff and measure it.
For a deeper look at how scope drives these decisions, see our scope of work checks for contractors.
The photos to take before you price anything
Most bad photo estimates come from bad photos: too tight, too dark, no sense of where in the building the picture was taken. A repeatable pattern fixes that. For each condition you need to price, take three shots:
- Wide shot. Shows where the work is in the room or on the building. Stand back far enough to include two walls or a recognizable landmark.
- Medium shot. Ties the detail to something fixed, such as a door frame, a gridline, a meter or the house number.
- Close-up. The actual defect, fastener, label, panel or fitting.
Then add the shots that make a quote defensible:
- Data plates and labels. Water heater, panel, HVAC unit, appliance. Model and serial numbers save callbacks.
- Access. Stairs, narrow doorways, driveways, attic hatches, anywhere you will have to carry material or set up equipment.
- Surroundings. Trees close to a roof edge, finished floors that need protecting, neighboring structures.
- Existing damage. Photograph pre-existing flaws that are not part of your scope. It protects you later.
- Concealed work before it is covered. If you are opening a wall or ceiling, shoot it before it is closed up again.
If the customer is sending the pictures, give them this list in a text. Ask for a wide shot, a close-up and one photo with a tape measure or a standard object held against the area. Our guide on photo documentation in construction goes deeper into field rules for keeping these images useful on the record.
Getting measurements out of a picture
A photo is not a drawing. Perspective stretches near things and shrinks far things. To pull a trustworthy dimension from an image, an academic module on estimating dimensions from photographs says you need three things: a known reference length visible in the image, a shared plane between that reference and the feature you are measuring, and an image with reasonably clear edges and limited camera tilt.
In practice that means:
- Put the reference on the same surface. Tape a folding rule or hold a tape against the wall you are measuring, not on the floor below it.
- Shoot square. Stand directly in front of the wall, window or panel. Angled shots distort every length in the frame.
- Use something with a printed dimension. A tape, a framing square, a 4-foot level, a sheet of plywood. A door is a reasonable backup only if you have confirmed its size.
- Keep the edges visible. If the corner of the area is cut off or hidden in shadow, the measurement is a guess.
- Take the pictures from the same spot twice if you are unsure, once with the reference and once without, so you can check your scaling.
The same source flags a mistake that catches people all the time: a reference that is merely near the damage is not the same as one in the same image plane. A tape on the floor cannot accurately scale a stain high on a wall, because the wall and floor sit at different angles and distances from the lens. If you cannot get a reference on the wall, get a better shot or take a field measurement.
Where photo estimates go wrong
Photo estimates fail in predictable places. Knowing them lets you price the risk instead of eating it.
Overhangs and edges you cannot see
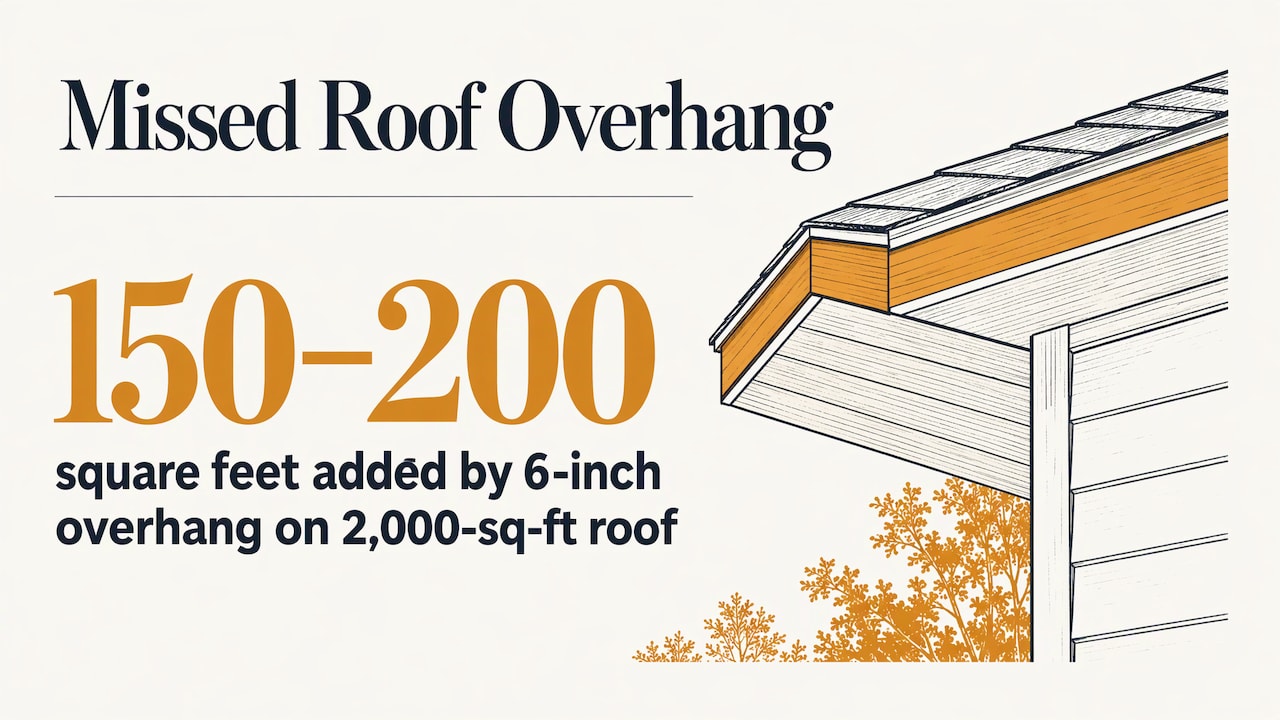
Roofing shows the problem clearly. A roofing contractor’s 2026 article notes that an aerial report may miss the overhang, soffit and fascia because an aerial camera cannot see under the eave, that the imagery can be months to a few years old depending on provider and location, and that trees can hide edges and require confirmation on site.
The quantity effect is not small. Another roofing guide gives the example that a 6-inch overhang missed on all sides of a 2,000-square-foot roof adds 150 to 200 square feet of material. Whatever your trade, the lesson carries over: look for the part of the job that a camera angle systematically hides, and either measure it or carry it as an explicit allowance.
Old or incomplete images
Customer photos may be weeks old, taken before a leak got worse or before the previous contractor opened something up. Ask when the pictures were taken and whether anything changed.
Hidden conditions
Rot behind tile, knob-and-tube wiring, undersized framing, galvanized supply lines. Photos show the surface. If the surface is old, build a line for unknowns into the estimate and describe how you will handle them.
Scale and lens distortion
Phone wide-angle lenses bend straight lines near the edges of a frame. Keep the subject in the middle and avoid shooting from a corner.
These limits are why a good estimate states what it assumes. A line such as “based on photos received on this date, final price to be confirmed after site measurement” sets the expectation honestly, and our piece on preventing estimate vs. quote disputes shows how to word it so the customer understands what is fixed and what is not.
If roof work is part of your trade, a local example of this approach is a roofing company that offers free roof inspections and insurance claims help, which pairs photographic evidence with an in-person look.
From photos and notes to an itemized quote
The photos are the evidence. The quote is the product. Here is a workflow that gets from one to the other without a long evening at the desk.
- Sort the images by area and task. Kitchen, demolition, electrical, finish. Each group becomes a section of the quote.
- Attach a note to each group while you are there. Dimensions, materials, the customer’s preferences, access problems. Speaking the note takes less time than typing it, and it captures what you noticed before you forget.
- Pull quantities. Use your measured or scaled dimensions, then add waste factors and allowances you normally use.
- Price labor and materials separately. Customers can follow a quote that shows what is labor, what is material and what is an allowance.
- List inclusions and exclusions. Write what is not covered, such as hidden damage, permits or paint color changes.
- State the basis. Say the estimate is built from photos and notes and name what will be verified on site.
- Attach the key photos. Three to six images that show the conditions you priced. The customer sees what you saw.
- Send it fast. The sooner the quote lands, the better the odds it is the one that gets approved.
If you need a structure for the document itself, the construction estimate templates guide lays out what to include. And if your customers speak Spanish, English or both, dual-language estimates from voice and photos shows how the same job notes can produce a clean document in the language the customer reads.
Our perspective on photo estimating
Contractors do not lose evenings to paperwork because they are disorganized. They lose them because the information is created in one place, on the job, and then has to be retyped somewhere else, hours later, from memory.
We built Hechito around closing that gap. When you are standing in front of the work, you already have everything the estimate needs: what the customer said, what you see, what you measured. Our approach is to capture that as it happens, through voice and photos, and have it come out as an organized record instead of a camera roll and a half-remembered list.
We think photo estimating is at its best when the photo, the spoken note and the quote are the same piece of information, not three things you reconcile at 9 p.m. That is also why we support English and Spanish, and let you speak either or both while the document comes out in the language it needs to be in.
The goal is simple: fewer details lost, fewer hours at the kitchen table, faster paid jobs.
Francisco
Keeping photo records useful after the quote
A photo that wins the estimate should keep working. The same images support three later moments:
- Change orders. When the customer asks for something extra, a dated “before” photo shows the original condition and scope.
- Progress billing. Photos of completed phases back up a draw request. See how this works in verifying draws with field photos and in progress billing with field photos.
- Disputes and warranty questions. A dated record of what was there when you started, and what you did, ends most arguments quickly.
File each image where the job lives, not in a personal camera roll. Name or tag by job and area. Pair the photos with a daily record of crew, hours and conditions, and our guide to daily construction logs shows the fields worth capturing, while the site diary overview explains why. Eventually those same records feed job costing, where you learn whether your photo-based numbers matched reality.
That last step is the one that improves your estimating. After each job, compare what you quoted from photos with what the job actually took. Where you were off, find out why: a hidden condition, a missed overhang, a bad reference. Adjust your allowances.
Do the estimating where the work is
Hechito is built for contractors and tradespeople who would rather talk through a job than type it up. You describe what you see, take photos, and the details are organized into estimates and invoices, in English, Spanish or both. Our virtual co-workers, Chalán, Lupita and Godínez, cover field, phone and bookkeeping tasks, and you can see how they work on the crew page.
To see the flow from conversation to filed record, read how Hechito works, or look at the invoicing and estimate app for contractors.
Common mistakes to avoid
- Measuring from a reference in the wrong plane. A tape on the floor does not scale a stain on the wall.
- Shooting at an angle. Tilt distorts every dimension in the frame.
- Skipping the wide shot. Without it, nobody, including you, knows where the close-up was taken.
- Trusting stale imagery. Check when the photo or aerial image was captured.
- Forgetting overhangs, edges and access. The parts a camera hides are the parts that change the number.
- Quoting a firm price on concealed work. Give a range with stated assumptions instead.
- Leaving photos on your phone. If they are not attached to the job, they will not be there when you need them.
- Not writing down the basis. Say the estimate came from photos and what will be confirmed.
FAQ
Can I give a firm price from photos alone?
Only when the work is visible, standard and easy to measure from the images, such as replacing a common fixture. For anything with hidden conditions, give a range with written assumptions and confirm on site before you lock the price.
How many photos do I need per job?
There is no fixed number. Use the wide, medium and close-up pattern for each condition you plan to price, then add data plates, access routes and existing damage. A typical room might need a dozen or so, while a larger project needs more.
What should I ask customers to send?
Ask for a wide shot of the area, a close-up of the problem, and one photo with a tape measure or a known object held flat against the surface. Ask when the photos were taken and whether anything has changed since.
How do I make a photo estimate more accurate?
Place a reference of known length in the same plane as the feature you are measuring, shoot square to the surface, and keep edges visible. Then spot-check one or two dimensions on site. If a check differs noticeably from the photo, measure that section directly.
Sources
- Estimating Dimensions and Uncertainty from Photographs (GRASP study module)
- Are Aerial Roof Quotes Really Accurate? A 2026 Guide
- Roof Measurement for an Estimate: Aerial vs Tape
- The Trusted Houston Roofing Experts | Holladay Family Roofing
Recommended
This is the paperwork Hechito does for you — while you talk.

On iPhone? Coming very soon to the App Store.